
Short answer: buy a 9-foot 5-weight rod, a matching reel with a sealed drag, a weight-forward floating line, a 9-foot 5X leader with a few spools of tippet, and a small selection of dries, nymphs, and streamers. That covers 95% of trout fishing in North America. Everything below explains why.
Fly fishing is one of the most rewarding things you can take up, but the array of equipment choices is daunting at the start. I started later in life and was lucky to have good guidance from friends and family — but there are tons of options, and it's easy to either massively overspend or buy so cheap you waste your money and your time.
Step 1: Selecting your rod
The rod is your primary tool. For a beginner, a 9-foot 5-weight is the answer — versatile enough for most environments and species you'll encounter.
Before choosing, ask yourself honestly which of these you are:
- Fly fishing is an experiment I'll do occasionally
- I'm passionate about it, but it'll be my second or third hobby and needs to stay affordable
- This is a number one passion and I'll be doing it for a long time
If you're a 1, get an affordable quality rod in a medium action — forgiving, and it'll handle multiple species and sizes wherever you go. If you're a 2, same idea but consider a faster action, which builds line speed and lets you handle wind, bigger flies, and a few more advanced techniques. If you're a 3, you'll likely cherish this rod — buy quality, buy something with a real warranty, and buy something you have an emotional connection to, because you'll come back to it after you own others.
Rod features worth understanding
- Reel seat — how the reel attaches. Ornate wood looks lovely, but what matters is a second locking ring so the reel can't work loose.
- Number of sections — go four-piece. Two-piece is cumbersome, five-piece is a backpacking rod. Don't fall for telescoping models.
- Eyelets — some rods have flexible eyelets that bend back. 90% don't, and it isn't necessary. We've had stiff eyelets for decades without it being a problem.
- Materials — get graphite. Don't start with bamboo or fiberglass unless you're prepared to own several rods; they have quirks that limit their usefulness as a first rod. Those are third and fourth rods for the quiver.
- Handle — cork wears well and feels good. You don't need a fighting butt. Look closely at the cork for filler, which looks like small painted-in sections — it's glue and cork dust filling gaps. Higher-quality cork has less of it.
Rods and combos in our shop
The simplest route for a beginner is a matched combo, because it removes the guesswork about whether your line, reel, and rod work together:
- Genesis Rod and Reel Combo — where I'd start most people. Balanced, forgiving, and ready to fish out of the box.
- 23PS Rod and Reel Combo — good enough to fish seriously, affordable enough to lend to a friend.
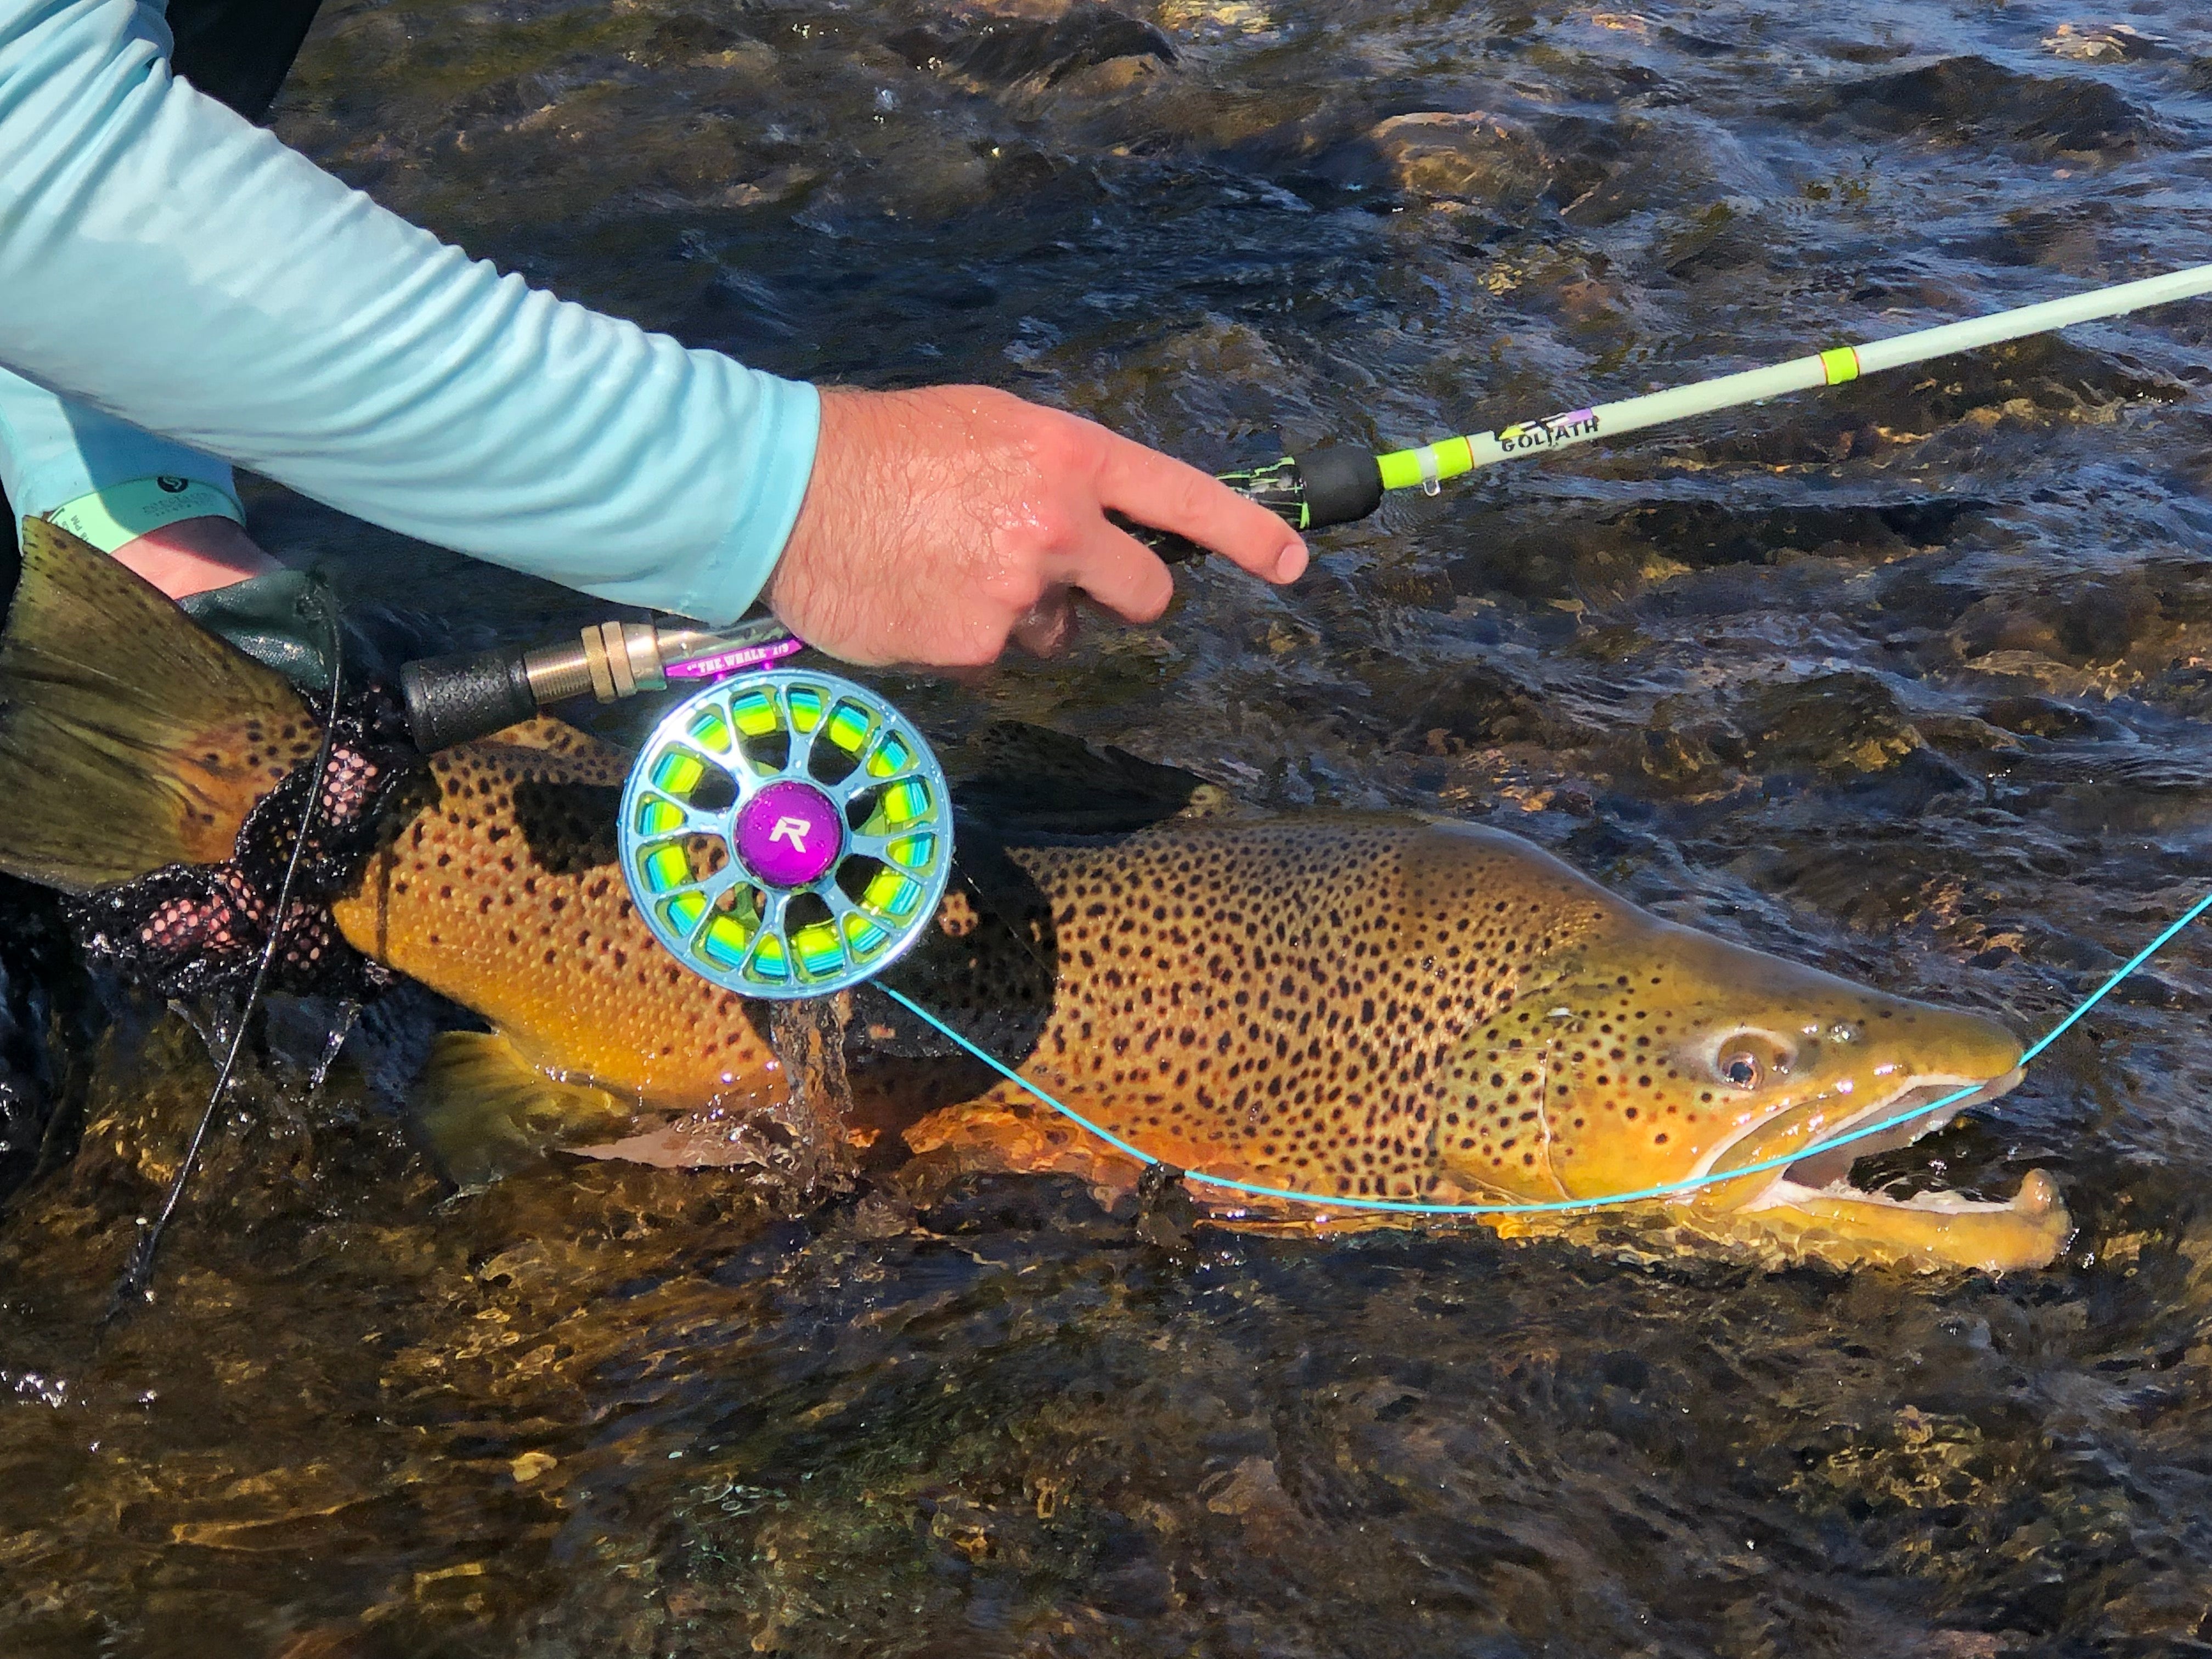
- Goliath Rod and Reel Combo — for bigger water and bigger fish.
- 23PS Nymph Rod and Reel Combo — if you already know nymphing is your thing.
Browse all rod and reel combos and fly rods.
Write down whether you're a 1, 2, or 3. It's fine if it shifts slightly per item — the point is to narrow things down, choose, and go fishing. And always share your list with your gift-givers. That's the easiest way to save a few bucks.
Step 2: Matching your reel
Your reel holds line and manages tension through the drag so you can fight and land fish. Match it roughly to your rod weight for balance — but don't overthink this. The weight changes once it's lined anyway.
What to look for
Design. Be careful here, because you can get seduced by finely machined reels. Over-machined reels lose durability. A friend of mine landed a nice fish, set his rod and reel down in his excitement — not a hard toss — and when we moved to the next spot he let out an "oh no." Beautiful reel, bent cage. We gently bent it back to working order, but the dent's still there and it isn't a warranty issue.
Drag. Get a reel with a real drag. Originally reels were click-pawl systems, essentially just line holders, and the drag was your palm on the rim or the line between your fingers. I recommend a sealed drag that lasts a long time with virtually no maintenance. Audible clicks between settings are nice but not necessary.
Functionality. Hard to judge in a shop. Read the reviews. Cheaper reels can let line slip between the cage and spool, or the drag degrades over time. Get a mid-line or better reel and you're fine.
Arbor. For a beginner, one floating line covers 99% of situations. Arbor diameter matters more when chasing big powerful fish where you need to pick line up fast — not a concern for trout. Worth checking whether a second spool is available later, so you can swap to a sinking or specialty line.
Reels in our shop
- Armor II Reel — 3/4, 5/6, or 7/8 weight, in three matte finishes.
- Gideon Fly Reel — a solid all-rounder in Emerald Green or Gunmetal.
- Silvertip II 5/6 — arrives pre-spooled with weight-forward floating line, which solves step 3 at the same time.
- Yellowstone Grizzly Fly Reel — straightforward and well priced.
If you can buy your reel with backing already on it, do. Otherwise get to know someone at your local shop — that relationship is worth more than any single purchase.
Step 3: Choosing your line
Good line improves your casting distance and accuracy more than almost anything else. For starters, a weight-forward floating line. It's easier to cast and works across conditions and species, because it puts enough mass near the tip to load the rod with relatively little line out.
There are a thousand kinds of line and the details are mind-boggling — even advanced anglers get confused. Don't dive down that rabbit hole until you need to. Here are the basics:
Types of floating line
- Weight Forward (WF) — heavier at the front, so it shoots further and easier, like a slingshot. Best in wind and at distance. The trade-off is a slightly heavier landing, which you can soften with your casting stroke. Easiest to cast, so it's the beginner's choice.
- Double Taper (DT) — even at both ends, thinner in the middle. Gentler presentation at shorter range, and you can reverse it when one end wears out.
- Level (L) — same thickness throughout. Simplest and cheapest, but nowhere near as easy to cast.
Line materials
- PVC with additives — most common. Plastic blended with ingredients that help it float and stay supple.
- Polyurethane — tougher across temperature extremes. An all-season jacket rather than a summer one.
- PVC-free — kinder to the environment, usually a bit more expensive.
Line in our shop
The Moonlit Performance WF Taper Floating Fly Line is exactly the line described above and the one to start with. Later, when you want to reach deeper water, the Floating Intermediate Sink Tip S1 opens up water most beginners can't fish. See all fly lines.
Step 4: Flies, leaders, and tippet
Flies are what fool the fish; tippet is the fine line connecting the fly to your leader. Start with the basics: dry flies like the Adams, streamers like the Woolly Bugger, and nymphs like the Pheasant Tail.
For leaders and tippet, a 9-foot leader with 5X tippet is the versatile combination. You'll want a range of tippet so you can extend your leader and fish different flies — I suggest separate spools in 2X, 4X, and 5X. Use monofilament for floating flies and fluorocarbon for wet flies, since fluoro is denser and sinks.
In the shop: Stone Creek Mono Tippet and 5X tippet, plus everything in tippets and leaders and backing. Grab two to four spare leaders so a snag or break-off doesn't end your day.
Not sure what to buy? Our fly pattern assortments take the guesswork out entirely — curated sets covering a season rather than a single hatch. The full fly patterns collection is there when you know your water.
Fly selection can be difficult, so read my OSSCP fly selection methodology, then the Zone theory article to understand presentation.
Step 5: Accessories and gear
The key here is to keep it simple. When I started I wanted all the gear. Look at me, I'm a walking retail store! Don't make that mistake. Get a few basics — the goal is to keep you fishing rather than fiddling with gadgets and overcomplicated fly boxes.
- Hat — get one with a real brim, preferably dark on the underside to absorb reflected light. The Brown Trout Straw Sun Hat, or anything in hats and gaiters.
- Neck gaiter — a thin buff keeps sun off, bugs out of your face, and adds warmth. Try the FFIP Logo Neck Gaiter.
- Polarized glasses — your eyes are vital and good lenses genuinely matter. Get a dedicated quality pair, and if you can afford it, glass lenses in amber or a low-light colour.
- Sun shirt — medium to light with a hood. The FORLOH SolAir Hooded LS Shirt or the Teton Comet Hoodie.
- Rain jacket — a compact shell saves you from wind and rain. The Frogg Toggs Cascades Pack Jacket packs down small enough to live in your bag permanently.
- Waders — a good midweight pair is the right starting point. The Whetstone II Chest Wader, or the MERIDIAN Z if you want front-zip convenience. Add a Brookie Wading Belt — that's safety gear, not an accessory.
- Wading boots — Slate Felt Sole Wading Boots, or Women's/Youth Stonefly. Check your state's rules on felt before buying, since several states ban it.
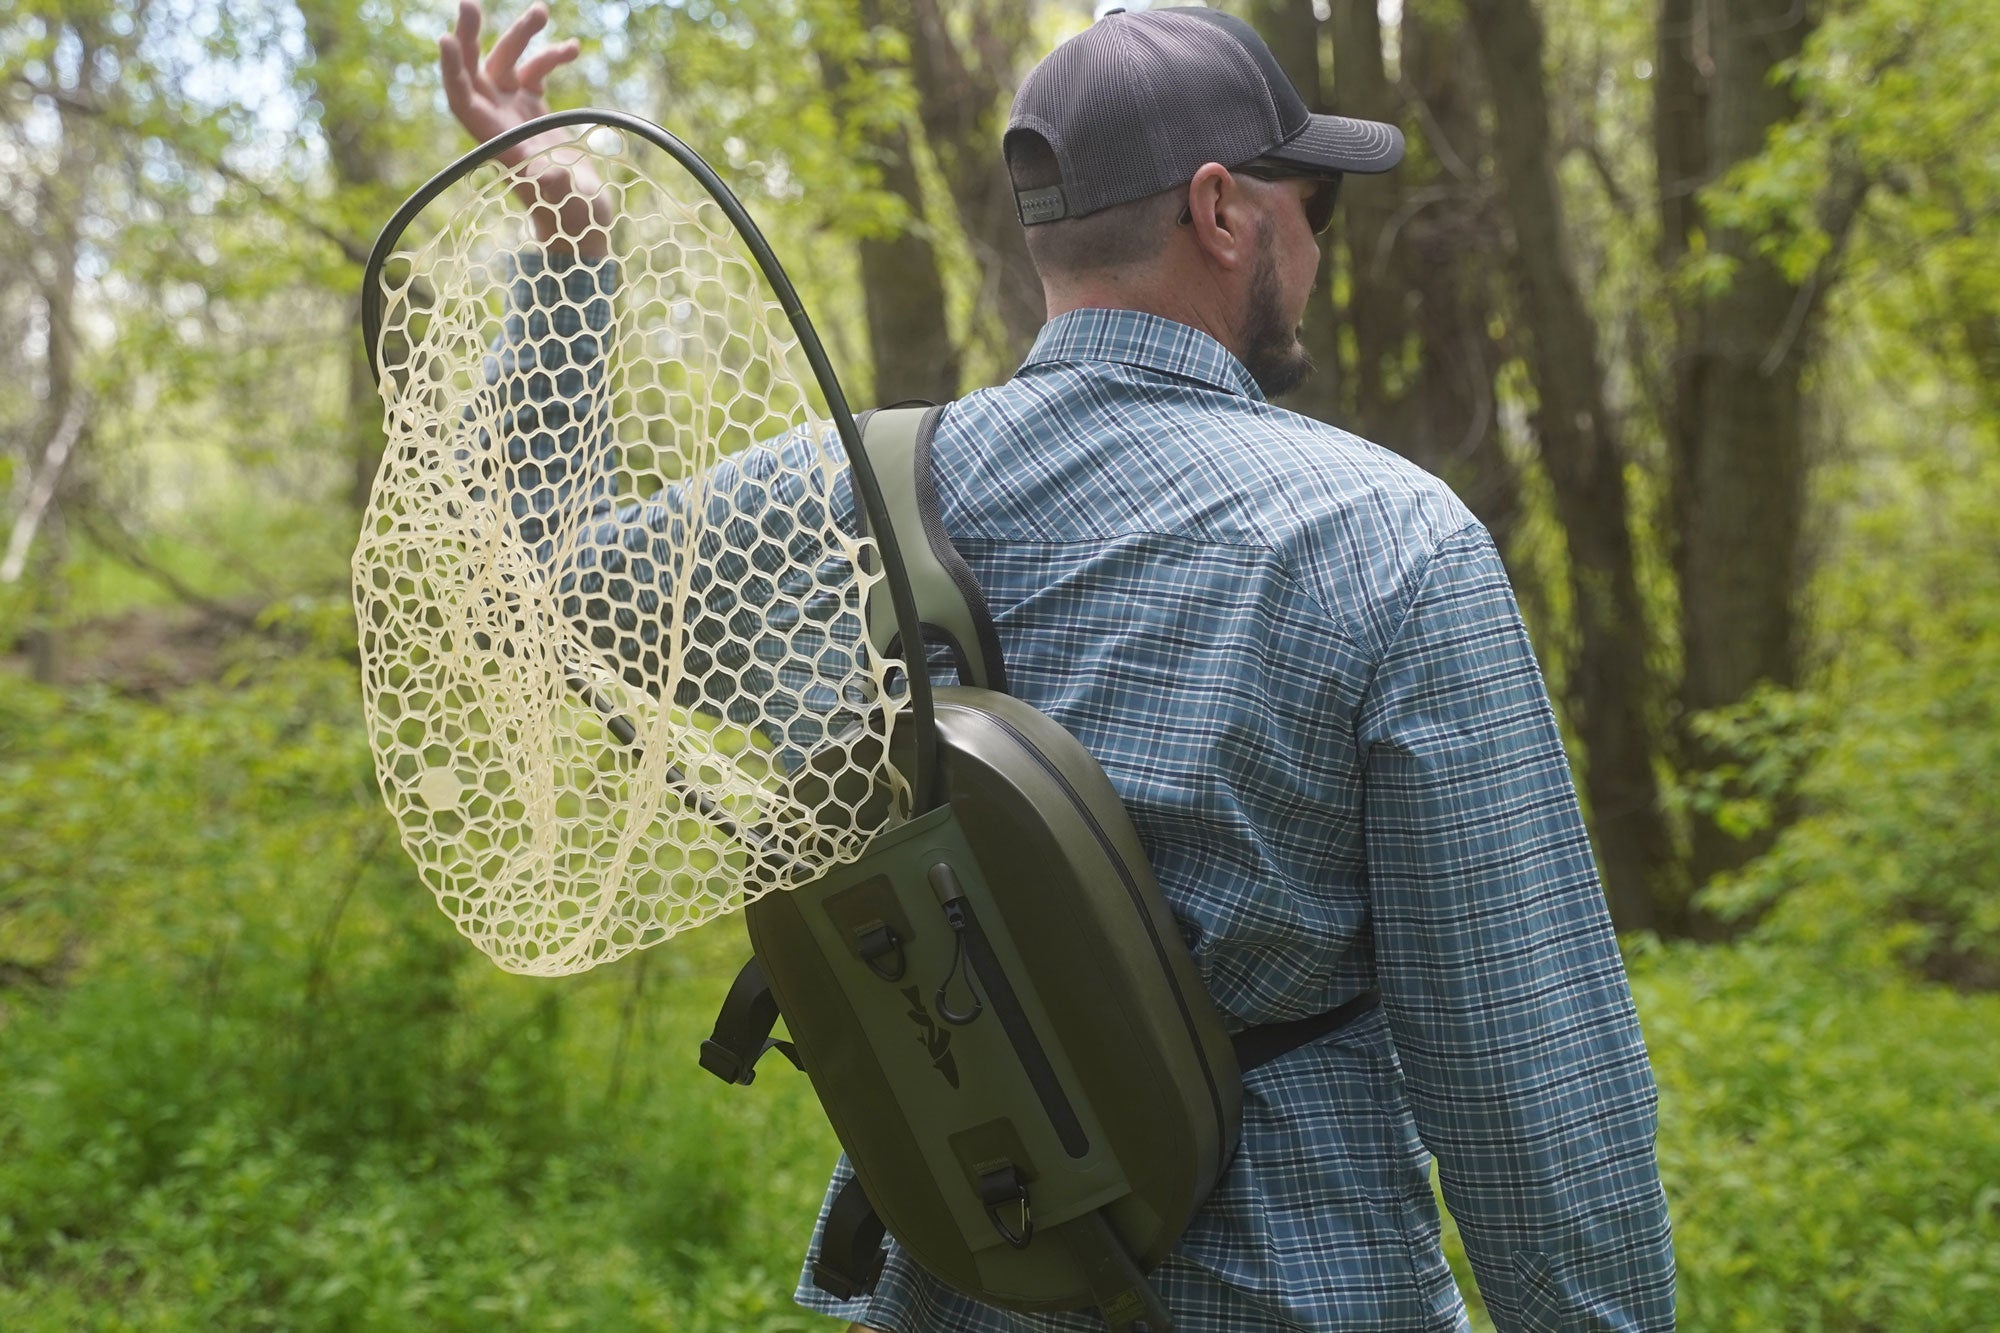
- Vest — I've moved back to a vest. The comfort and versatility beat every pack, hip pack, and sling I've tried. The Deluxe Fishing Vest, or the JHFLYCO Adjustable Mesh Vest for hot days. There are Kid's Fishing Vests too.
- Forceps — one of your most important tools. Get a fine tip with scissors in the back of the jaws, so you're covered if you drop your nippers: the Rambler Tailwater Forceps.
- Nippers — cutting line cleanly means clean knots and line ends that thread into a hook eye first time. Don't overspend, but always have a sharp pair: Rambler Tungsten Carbide Nippers.
- Zinger or lanyard — keeps tools where your hand expects them. See zingers and lanyards.
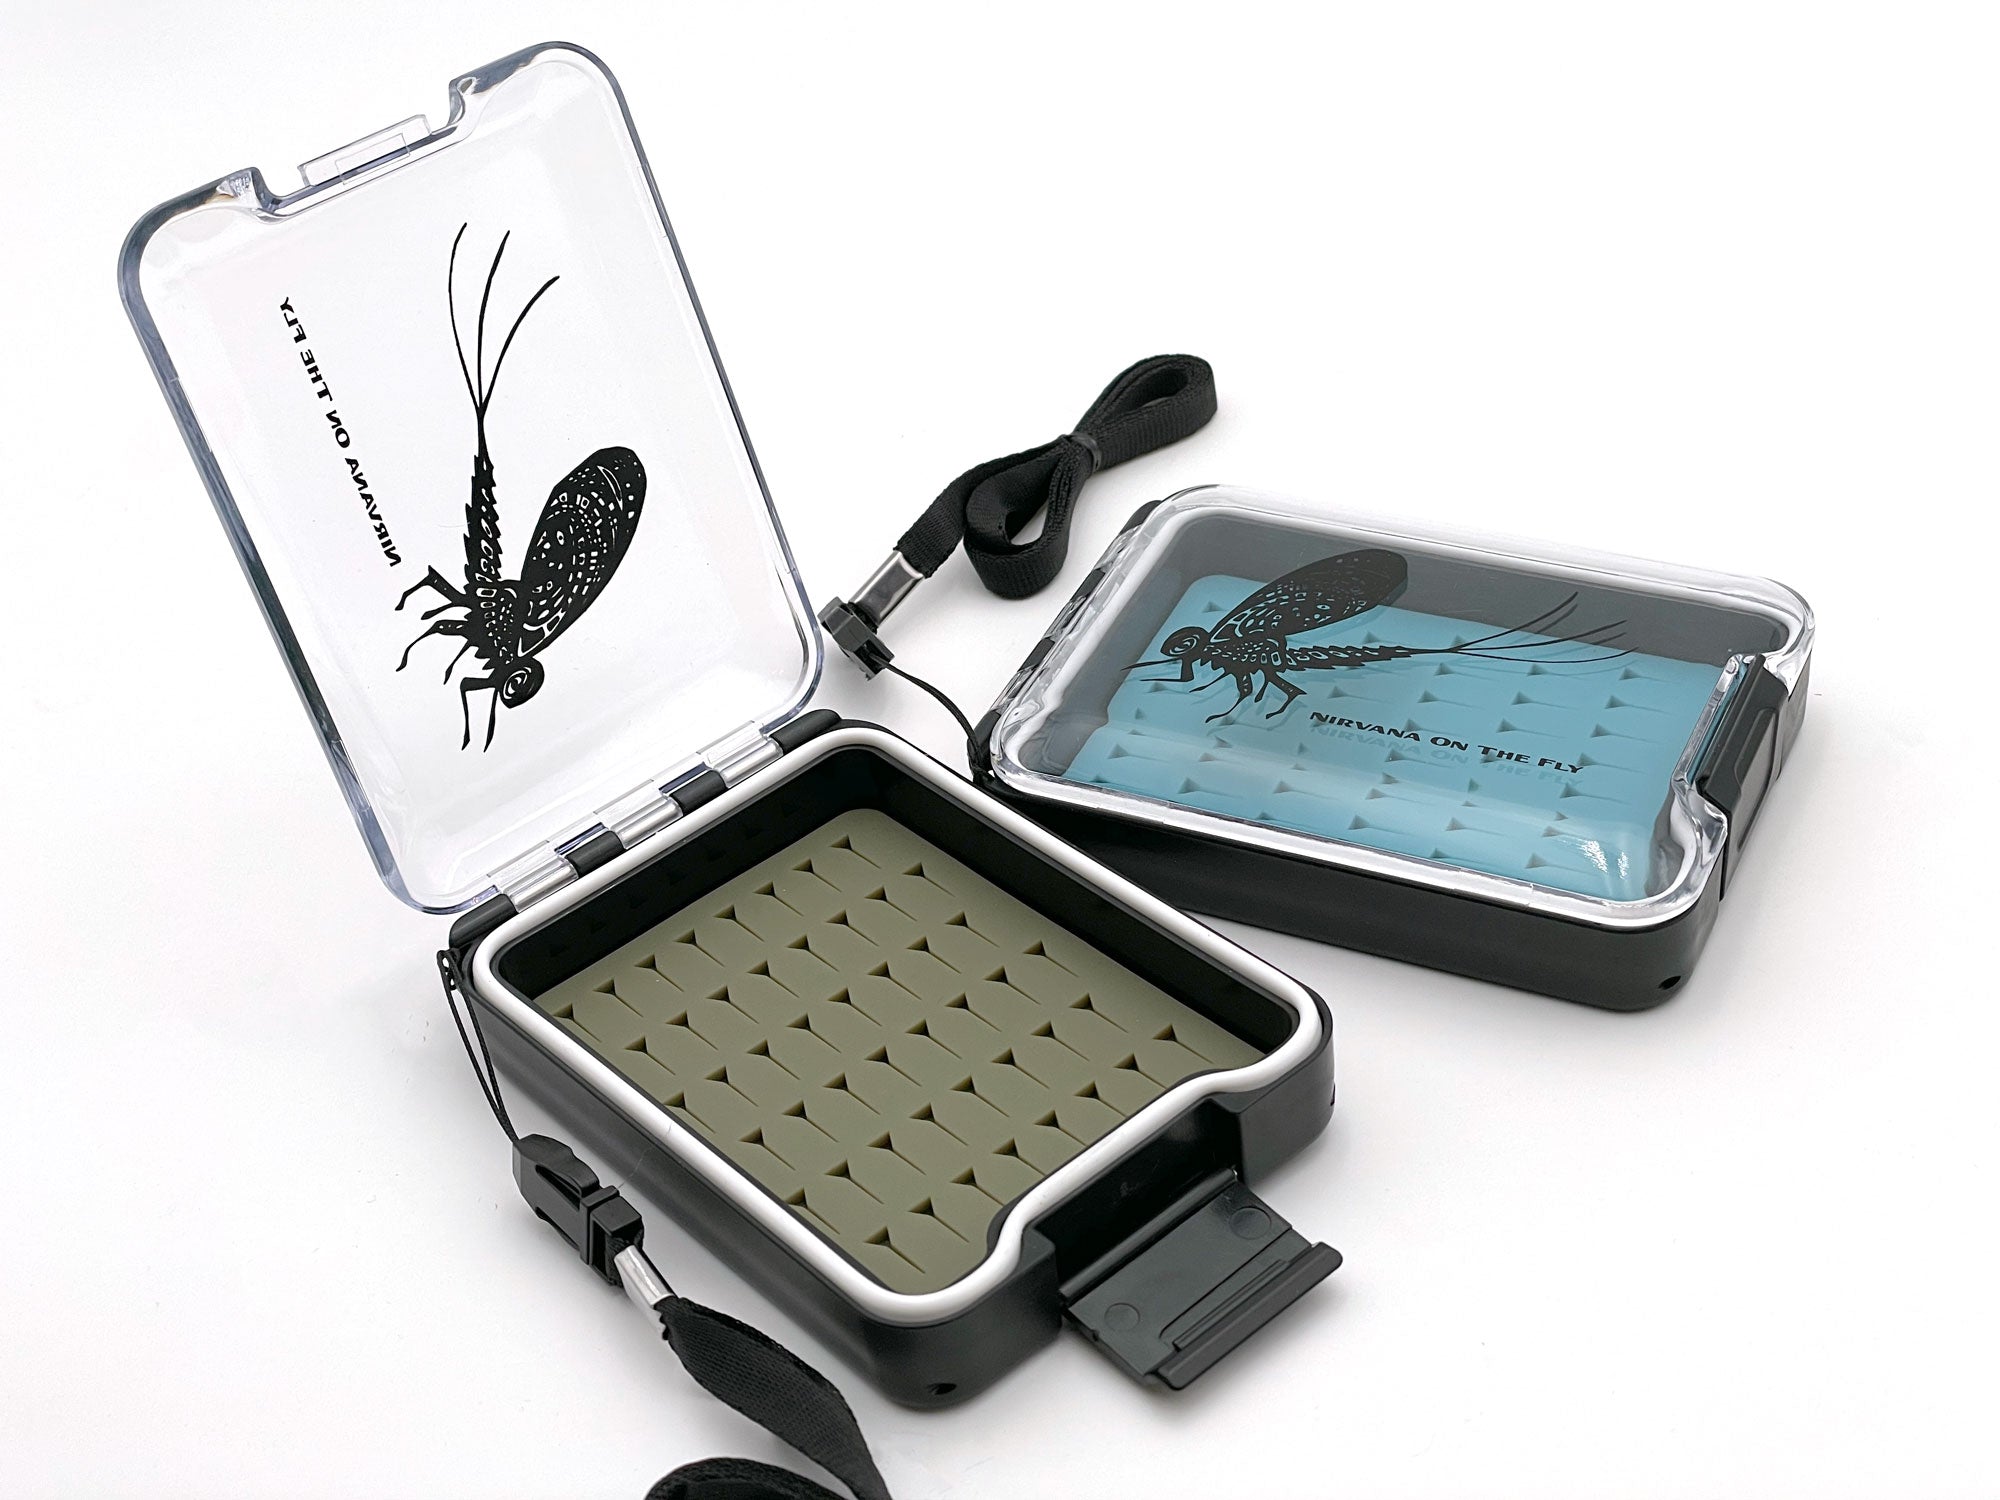
- Fly boxes — I prefer smaller waterproof boxes organised by hatch, one for dries and one for nymphs. Get different colours so you can tell them apart instantly: the Slim J Magnetic Fly Box and the TF Fly Boxes with Hook Threaders.
- Floatant, liquid and powder — most anglers carry both. Loon Aquel for the gel and Loon Dust for reviving a fly that's gone under. The key with powder is not to cake it on — flick, blow, or rub off the excess.
- Net — a good net lands more fish and gets them released faster. Go slightly longer in the handle than a hand net: the Brookie Net for small water, the Lunker Net for bigger fish.
- Pocket knife — indispensable in a jam, useful as a utensil, and not just for fishing. The Peasant Folding Pocket Knife, or read my guide to pocket knives for anglers.
The bottom line
With the right gear tailored to a beginner, you can focus on honing skills and enjoying the peace of it. Investment in quality gear is investment in the quality of your experience.
Most of all, avoid getting caught up in the marketing of extreme products that over-promise and under-deliver. Keep in mind you're catching fish with pea-sized brains. More importantly, you're out there enjoying yourself — and a big part of that is feeling prepared and comfortable in any situation.
The list above will start you off far better than I started. Welcome to the fold, and may your flies always float and your lines forever be tight.
Download the Beginner Fly Fishing eBook

Go on a fly fishing trip you'll never forget
We partnered with Frontiers Travel to put you on water that's worth the flight. Tell them where you want to go. Don't wait.
Book a Trip
By Christian Bacasa
Host of the Fly Fishing Insider Podcast
Fly Fishing Insider Podcast Official Website
@flyfishinginsiderpodcast
@dupeafish
Watch on YouTube